Today, I turned 28 years old. Besides the number, that’s the same sentence I started with when writing on my birthday last year. In rereading that post in preparation for writing today, there was a paragraph that I’m glad that I captured so well because it’s equally valid today. Here’s me, 365 days ago:
I always look forward to my birthday. As I get older, it’s less about the excitement of a celebration, but instead, because it’s as good a day as any to be kind to myself. I sleep late. I eat foods I enjoy. I watch or play what I like. I make myself stop worrying about things, breathe, and relax. At a time in my life when I feel pulled between wanting to make a difference in the world and also just worn down by it all, this is a much-needed day of solace, of smallness, of simplicity.
I’ve had a good day today. After moving so close to them, I finally got out on the ski slopes. I did some writing. I chatted with friends and family. I played outside with my dog. I’ll cook up a favorite meal tonight. And I’m looking forward to celebrating more with my wife in a couple of days, and my parents when they come to visit this weekend.
This past year has included some of the most significant changes in my personal life for a while. First, I left a job in which I was very secure, but it was wearing me down. Then, I took a job that was much lower stakes and that I enjoyed immensely but had to leave when my wife and I moved. And yeah, I moved hundreds of miles further away from family and friends to a new state, chasing the unknown.
And, so, I found myself reflecting lately on how I’d like this year to go. Not so much about what I want to accomplish but more about what I’d like to do. What do I want to do for me? I’m finally surrounded by all the opportunities that I’ve longed for. My little family has a secure income, even now as I search for a new job (an enormous privilege that I’m thankful for every day). How will I take advantage of it this year?
So, in no particular order, here are 28 things I’d like to do on my 28th year on Earth:
- Read more books than I did last year.
- Spend at least four weekends in a tent.
- Design more t-shirts than I did last year.
- Summit at least five peaks.
- Write more consistently than I did last year.
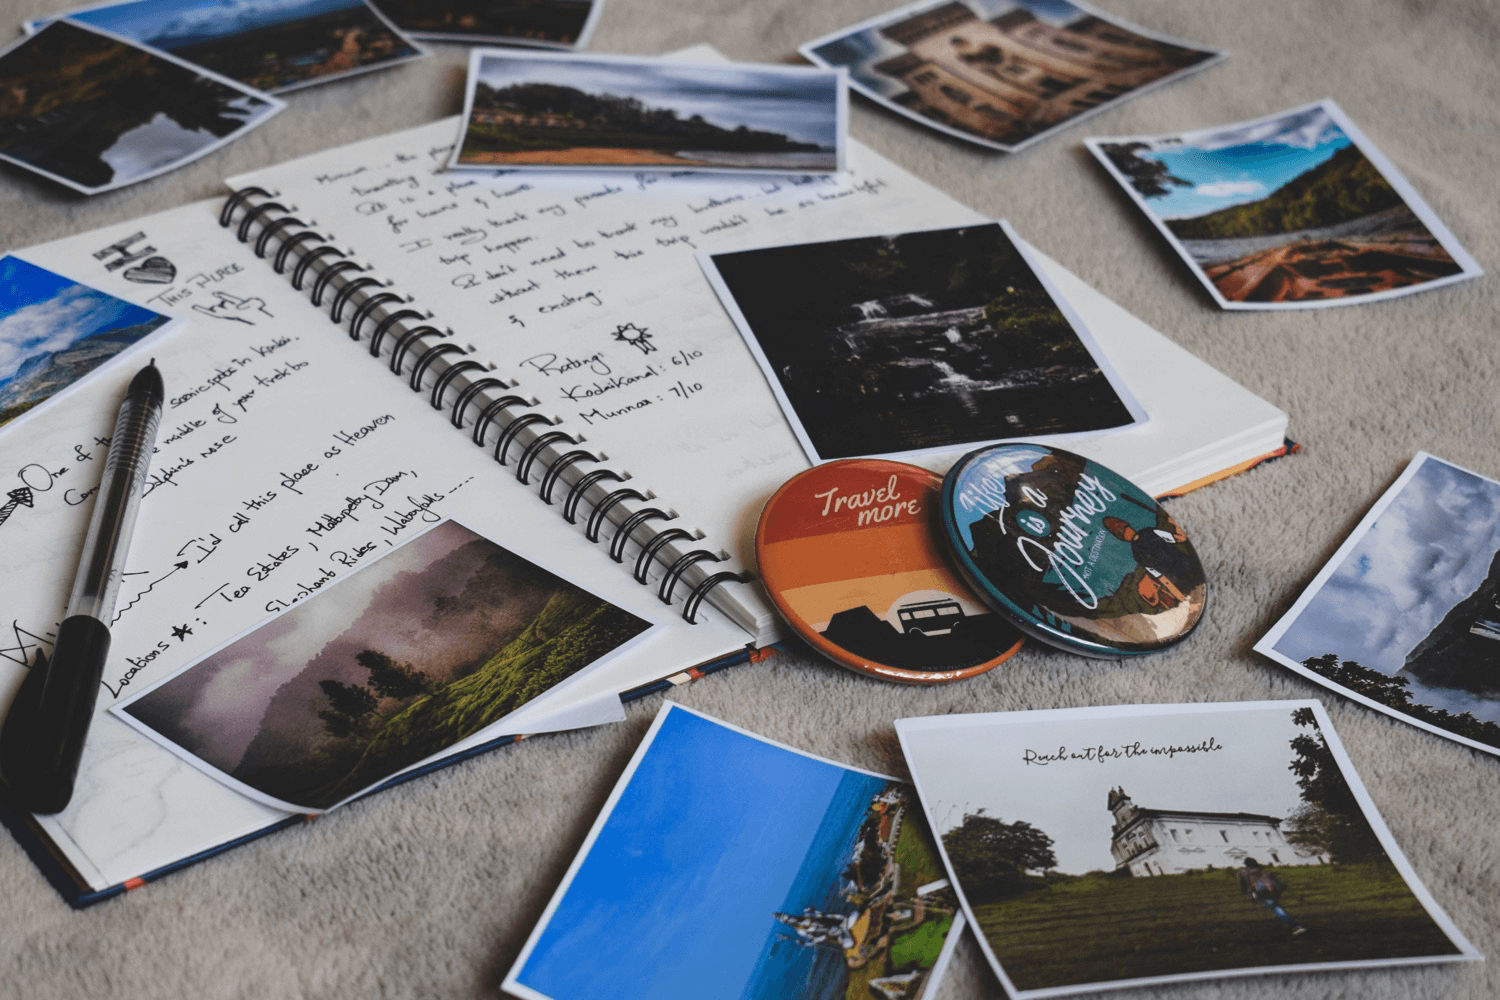
- Spend more time journaling than I did last year.
- Get in the habit of reaching for healthy snacks rather than junk food.
- Make more regular phone calls to family.
- Learn how to fix things in my home.
- Own up to mistakes more than I have in the past.
- Join a local club.
- Lend my talents to a local volunteer organization.
- Strike up conversations with strangers.
- Get good at cooking something with fresh ingredients.
- Finish at least one story-based video game.
- Make date night with my wife a priority.
- Close all my rings at least 50% of the days this year.
- Get out ice climbing.
- Climb at least three multi-pitch routes.
- Tick off at least 15 crag days.
- Find a local climbing partner. (Maybe this should have been #18)
- Take a non-local friend out climbing.
- Take my wife up a trad route.
- Learn a programming language / finish a programming course.
- Take a writing course.
- Take my wife on a surprise weekend trip.
- Play my trumpet. (Hooray for living in a house, not an apartment!)
- Work my way up to running a half-marathon.
Wish me luck! I’ll try to keep track as I tick things off in this Twitter thread. And though the number has become all but meaningless, it is, after all, my golden year. It’s going to be a good one. 🥳